What SeedSigner is
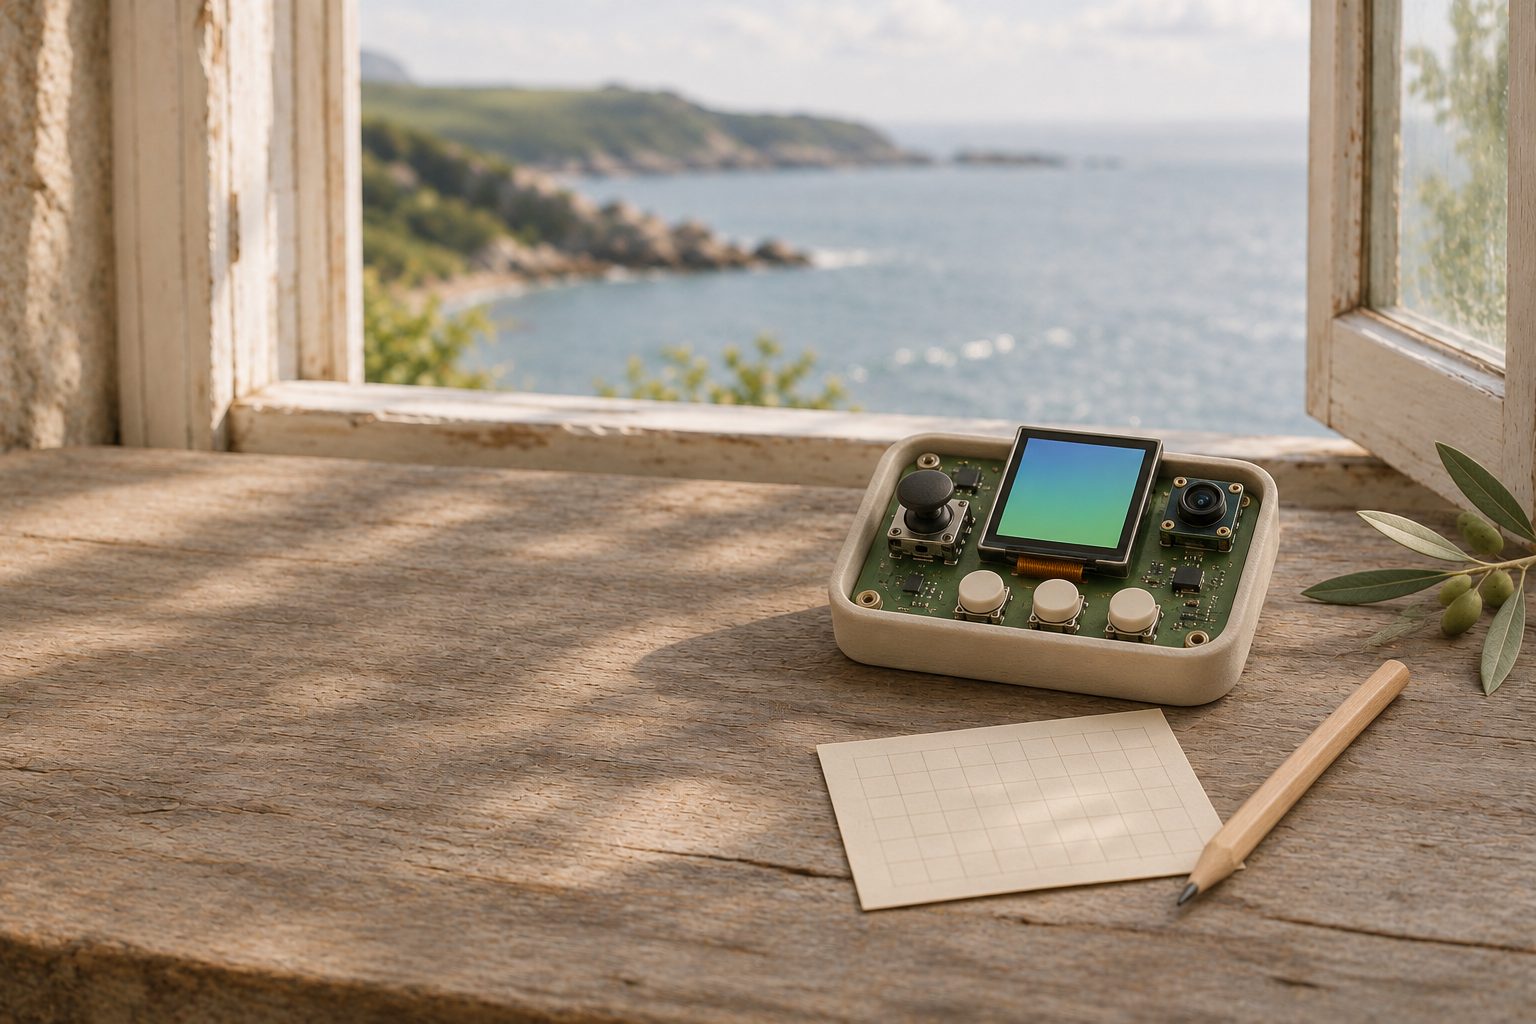
SeedSigner is a Bitcoin signing device you build yourself from off-the-shelf parts: a Raspberry Pi Zero board, a small screen with a joystick and three buttons, and a camera. It holds your keys while switched on, checks and signs transactions, and exchanges data only by QR code, reading them with its camera and showing them on its screen. It never plugs into your computer, and the recommended board has no Wi-Fi or Bluetooth.
It works alongside a wallet app such as Sparrow, which tracks your balance and builds transactions for SeedSigner to sign.
The code is open source under the MIT licence, and the project is run by volunteers with no company behind it. Version 0.8.7, released on 8 July 2026, was current on 17 November 2026. Menu names below come from SeedSigner's source code at that version. Version 0.8.7 switched buttons to sentence case and replaced "PSBT" with "transaction" on screen, so older videos may show different wording.
SeedSigner ↗ · SeedSigner 0.8.7 release ↗ · Licence ↗
Stateless: it forgets your keys at power-off
SeedSigner keeps your seed in memory only while it has power. Unplug it and the memory is wiped. You can remove the microSD card once the device has started, so nothing secret can be written to it.
Every session therefore starts the same way: load the seed, then sign. You can scan a SeedQR, which is your seed drawn by hand as a QR code (see below), or type the 12 or 24 words with the joystick. If you use a , you enter that each time too.
A SeedSigner that is switched off holds nothing, so losing it costs only the parts, and any other SeedSigner or BIP-39 wallet can take its place. Everything that matters is on the backup.
- More steps each time. Power up, wait about 45 seconds for the logo, load the seed, then sign.
- The backup has to be with you to sign. It leaves storage every time, so decide in advance where you sign.
- softens this. In a two-of-three wallet, one SeedQR on its own cannot spend.
Parts and building
The project's README gives this parts list:
- Raspberry Pi Zero. Version 1.3 is preferred because it has no Wi-Fi or Bluetooth. A Zero W or Zero 2 W also works but has wireless hardware, which the README links a guide to disable physically. Raspberry Pi 2, 3 and 4 boards work too. Boards are sold with or without the 40 header pins: buy one "with headers" if you do not want to solder.
- Waveshare 1.3 inch LCD HAT, 240x240. The README stresses the resolution: Waveshare makes similar-looking boards that are not compatible. This board carries the joystick and the three buttons.
- A Pi Zero camera with an OV5647 sensor. This is the sensor the project has tested. Other cameras with the same sensor should work but may not fit the Orange Pill case.
- A microSD card of 64 MB or larger, and a USB power cable.
Cases. The repository has two 3D-printable designs with assembly videos: Open Pill, which needs no extra hardware, and Orange Pill, which adds button covers and needs spacers and screws. The README also links community designs.
Kits and pre-built units. The project sells no devices. Other sellers offer kits and assembled units, which means trusting the seller with the hardware. Either way, flash the card yourself from a verified image.
Install and verify the software
- From the 0.8.7 release page on GitHub, download the image for your board: pi0 for the Zero 1.3 and Zero W, pi02w for the Zero 2 W and Pi 3, pi2 for the Pi 2, pi4 for the Pi 4. Also download seedsigner.0.8.7.sha256.txt and seedsigner.0.8.7.sha256.txt.sig.
- Verify before you open or mount the image, since mounting can change the file. Import the project's key, run
gpg --verifyon the .sig file and look for "Good signature", then compare the key's fingerprint with the one at keybase.io/seedsigner. Finallyshasum -a 256 --ignore-missing --checkon the list should report OK. Stop if anything fails. Verifying downloads explains what each check proves. - Write the image to the card with Raspberry Pi Imager or Balena Etcher. This erases the card. Let the tool's verify step finish.
- Put the card in, connect power and wait about 45 seconds.
- Open Settings > I/O test to check every button and the camera.
The project's creator alone holds the signing key. Since version 0.7.0 the images are reproducible, so anyone can rebuild them from source and compare.
SeedSigner README: parts, install and verify ↗ · Enclosure designs ↗
Create a seed
The Tools menu has two New seed buttons, one with a camera icon and one with a dice icon.
- Camera. Take a picture of any scene and choose 12 words or 24 words. SeedSigner turns the image data into the seed.
- Dice. Choose 12 words (50 rolls) or 24 words (99 rolls) and enter each roll of a six-sided die. The project's dice verification page shows how to check the result against independent tools, using a test seed only.
- Read the warning and choose I understand. The words appear four at a time. Write each one on paper, in order.
- At Verify Backup?, choose Verify. SeedSigner asks for every word, in random order, from four choices, and ends with Backup Verified.
- Finalize Seed shows the fingerprint, a short code that identifies this seed. Write it down with the words. Choose Done, or BIP-39 Passphrase to add one.
Make a SeedQR
A SeedQR is your seed as a QR code copied by hand onto a paper template, so you can load it by scanning. It is as secret as the words, and holds no passphrase.
| Format | Size | What it holds |
|---|---|---|
| Standard | 25x25 (12 words), 29x29 (24 words) | Each word's number in the BIP-39 list, as digits. Any QR reader shows them, and you can turn them back into words by hand. |
| Compact | 21x21 (12 words), 25x25 (24 words) | The raw seed data. About 35 to 40 percent fewer squares to fill, but much harder to turn back into words without software. |
The SeedQR specification notes that if SeedSigner ever stopped being available, a Standard SeedQR is far easier to recover by hand.
- Print the official template for your format and size from the SeedQR templates folder. There are dot and grid sheets, and card-sized templates.
- On SeedSigner, open Seeds, choose your fingerprint, then Backup seed > Export as SeedQR.
- Under SeedQR Format, choose for example Standard: 25x25. Read SeedQR is your private key! and continue.
- On Transcribe SeedQR, choose Begin 25x25. The device shows the code one zoomed section at a time. Fill in each square on the template.
- At Confirm SeedQR?, choose Confirm SeedQR and scan your paper. A match reports that the transcribed SeedQR "yielded the same seed".
Never photograph a SeedQR or scan it with a phone or any device that goes online. Store it with the same care as the words.
SeedQR specification ↗ · SeedQR templates ↗ · Verifying dice seeds ↗
Use it with Sparrow
Set up the wallet
- On SeedSigner, load the seed, open Seeds, choose your fingerprint and then Export . Choose Single Sig, then Native Segwit, then Animated (default). Accept the Privacy Leak! warning, check Xpub Details and choose Export xpub. An animated QR code appears.
- In Sparrow, choose File > New Wallet and name it. Keep Single Signature HD and Native Segwit (P2WPKH).
- Under Keystores, choose Airgapped Hardware Wallet, find SeedSigner and choose Scan.... Hold the SeedSigner screen up to the computer's webcam.
- Check that the fingerprint Sparrow shows matches SeedSigner's, then choose Apply.
Sparrow now holds only the public key: it can watch and build transactions but cannot sign. The public key reveals your whole history, hence SeedSigner's warning. The Sparrow guide covers servers, coin control and fees.
Receive, and check the address
- In Sparrow, open the Receive tab. It shows the next address and its QR code.
- On SeedSigner, with the seed loaded, choose Scan on the Home screen and scan that QR code. Pick your seed if asked.
- SeedSigner works through your addresses and shows Address Verified with the address number when it finds a match. Skip 10 jumps ahead for addresses deep in the wallet.
Do this for your first address and before any large deposit. It proves the address belongs to your seed, whatever happened on the computer.
Send and sign
- In Sparrow, fill in the Send tab, choose Create Transaction, then Finalize Transaction for Signing, then Show QR. Sparrow shows an animated QR code.
- On SeedSigner, choose Scan and point the camera at it. A percentage shows progress.
- At Select Signer, pick your seed's fingerprint. If no seed is loaded yet, choose Scan a seed or Enter 12-word seed instead.
- Review each screen as shown below, then choose Approve transaction.
- SeedSigner shows the signed transaction as an animated QR code. In Sparrow, choose Scan QR, hold SeedSigner up to the webcam, then Broadcast Transaction.
Full Spend! means no change is coming back, expected only when you send everything. Suspicious Transaction means the change address does not come from your seed: choose Discard transaction.
Other wallets. SeedSigner's README lists Nunchuk, Keeper, BlueWallet and Specter Desktop as compatible, along with any wallet that handles transactions by QR code. The pattern is the same: export the public key, then pass transactions back and forth by QR. See the Nunchuk guide.
SeedSigner source: transaction review ↗ · Sparrow source: SeedSigner import ↗
SeedSigner in a multisig
The README names cheaper, simpler multisig as the project's aim. Do you need multisig? helps you decide first.
- On SeedSigner, choose Export xpub > Multisig > Native Segwit and export as before.
- In Sparrow, set Policy Type to Multi Signature HD and the script type to Native Segwit (P2WSH). For SeedSigner's keystore, use Airgapped Hardware Wallet > SeedSigner > Scan.... Add the other signers, then Apply.
- Export the wallet's descriptor with File > Export Wallet... and choose Output Descriptor, which Sparrow can show as a QR code. Keep a copy with every key's backup. Backing up a multisig explains why.
- On SeedSigner, choose Scan and scan the descriptor. Descriptor Loaded shows the Policy, such as 2 of 3, and the fingerprints of the Signing Keys. Check them against your records.
Without the descriptor, SeedSigner cannot tell whether a multisig change address is yours, and Your Change offers Verify multisig change or Skip verification. Choose verify and scan it. The descriptor is forgotten at power-off like the seed.
Useful settings and features
- Passphrase. After a seed loads, Finalize Seed offers BIP-39 Passphrase. Settings > Advanced > BIP-39 passphrase can set it to Enabled, Disabled or Required. A passphrase changes the fingerprint, so check it every time. The passphrase guide covers the risks.
- Address tools. Tools also has Verify address and Address explorer, which lists your addresses.
- BIP-85 child seeds. Off by default. Turn on Settings > Advanced > BIP-85 child seeds and BIP-85 child seed appears in the seed menu. It derives separate seeds from your main one, each recoverable from the main seed and its index number.
- Message signing. Off by default. Turn on Settings > Advanced > Message signing and Sign message appears in the seed menu. It signs a message request scanned from your wallet app, to prove you control an address.
- Persistent settings. Settings reset at power-off unless you turn on Settings > Persistent settings, which saves them to the microSD card.
- SettingsQR. The project's settings generator makes a QR code that applies a whole set of settings when scanned from Home. Without persistent settings, they last until power-off.
- Scanning help. Settings > Advanced also holds Camera rotation and QR code density.
SeedSigner source: settings ↗ · SettingsQR generator ↗
Risks and limits
- You are the factory. Sourcing the right parts and assembling them correctly is up to you. The device runs whatever is on the card, so only flash a verified image.
- No secure element. The parts list has no secure chip, and the Raspberry Pi is a general-purpose board. Security rests on storing nothing. Anyone who gets your words or SeedQR has your bitcoin, and someone who tampers with the device or card could change what it does. Keep both under your control, and reflash if in doubt.
- A small screen and a basic camera. The screen is 240 by 240 pixels, and long animated QR codes can take patience to scan.
- Volunteer support. There is no help desk. Questions go to the project's Telegram group.
- Privacy comes from the wallet app. SeedSigner never goes online, but Sparrow does, and its server choice decides who sees your addresses. Bitcoin privacy covers this.
Before you rely on it
- The image was verified with the signature and hash list before you flashed it.
- I/O test passed for every button and the camera.
- Your words are on paper, checked with Verify, and the fingerprint is written beside them.
- Your SeedQR scanned back with Confirm SeedQR, and it has never been photographed.
- Sparrow's fingerprint matches SeedSigner's, and you verified a receive address on the device.
- You restored from your backup once and signed a small payment end to end. A recovery rehearsal shows how.
- For multisig, the descriptor is saved with every key's backup and you know how to scan it.
Sources & further reading
Researched 17 November 2026. Software and services change: check the current documents before you act.
- SeedSigner ↗
- SeedSigner: source code ↗
- SeedSigner 0.8.7 release ↗
- SeedSigner README: parts list, install and verification ↗
- SeedSigner licence (MIT) ↗
- SeedSigner: enclosure designs ↗
- SeedQR format specification ↗
- SeedQR printable templates ↗
- SeedSigner: verifying dice seed generation ↗
- SeedSigner source: screens and menus (views) ↗
- SeedSigner source: transaction review ↗
- SeedSigner source: settings ↗
- SeedSigner SettingsQR generator ↗
- Sparrow: features ↗
- Sparrow source: SeedSigner import ↗
- Sparrow source: transaction screen ↗
Sparrow: build a wallet you can inspect → · Nunchuk → · Do you actually need multisig? → · The complete multisig recovery kit → · Verify the software before you trust it → · Passphrases: the extra word that can save or lose your bitcoin →