Intro
To spend from your 2-of-3 multisig wallet, you need at least two signatures. The easiest two devices to achieve this are the Coldcard and the Cobo Vault. The Seed Signer is perfectly capable but does not store your seed (by design) so adds just a little extra friction to the spending flow. Here is what the sign flow of the Seed Signer looks like.
Transaction Build
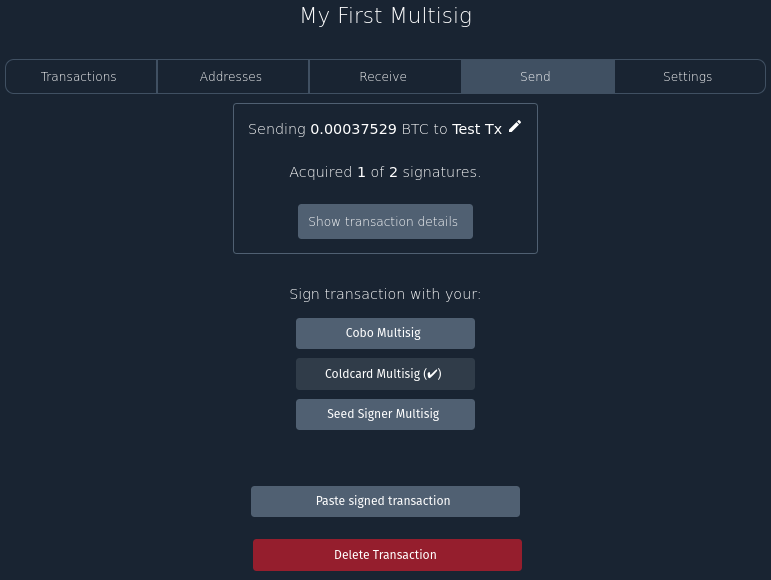
In Specter, open your multisig wallet and press Send. Complete the transaction details, including your recipient address, fee rate and optional label. Then press Create unsigned transaction.
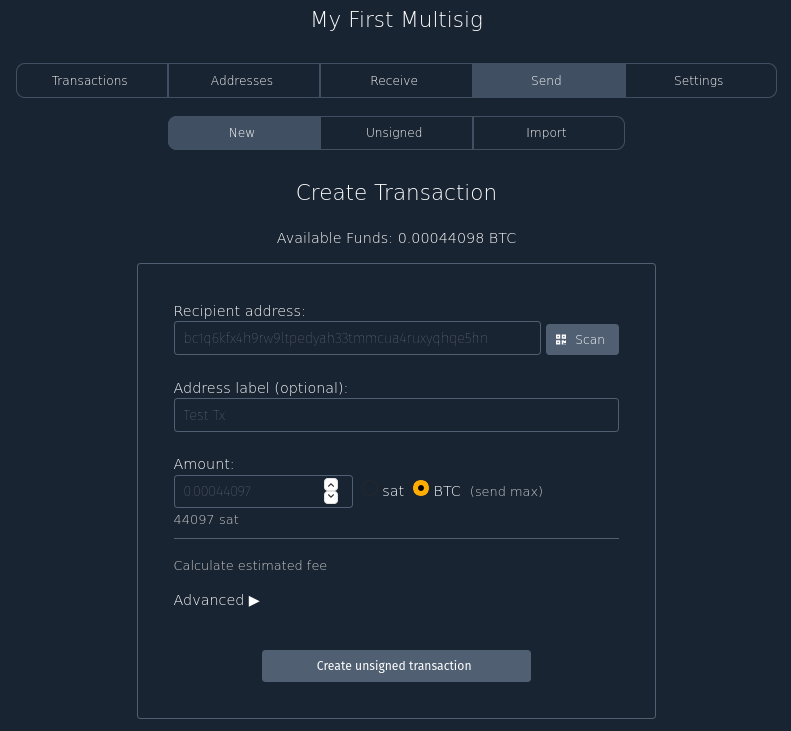
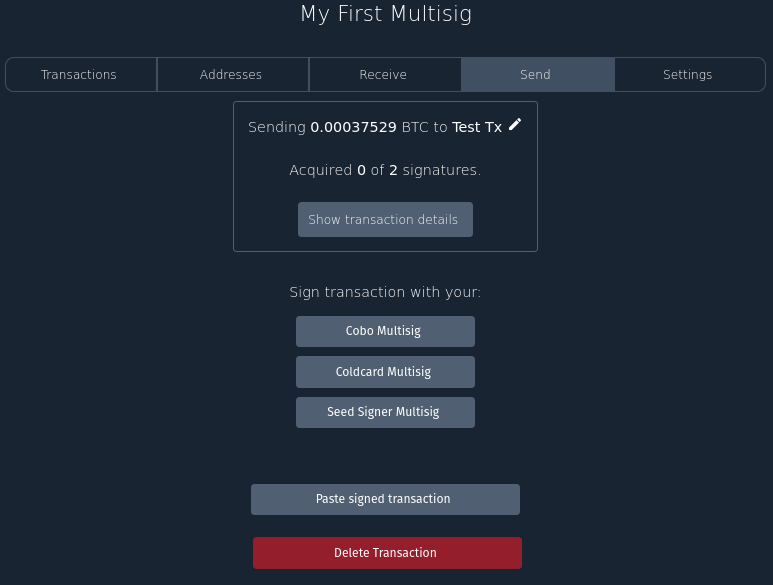
We now have our transaction built, waiting to be signed.
Coldcard
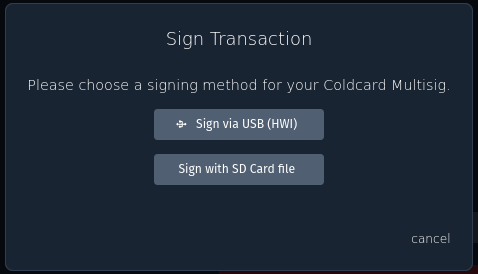
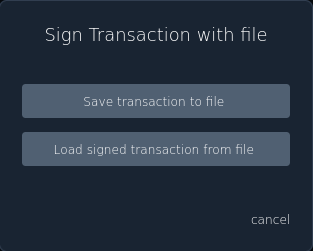
In Specter, press Coldcard Multisig > Sign with SD Card file > Save transaction to file.
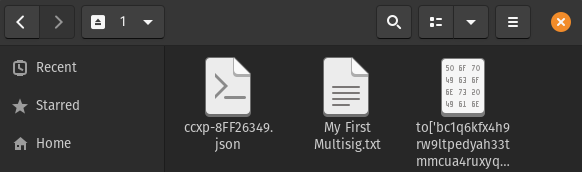
Put the Coldcard’s micro SD card into your computer and copy the .psbt file on to it. Then eject the micro SD card and insert back into your Coldcard.
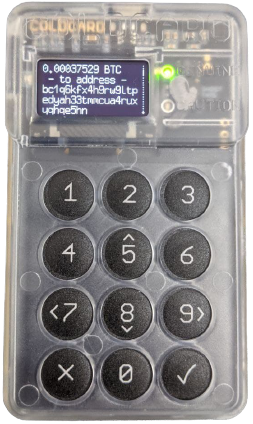
On the Coldcard press Ready to sign. Review the transaction details and check that the receive address matches the one you specified when building the transaction in Specter. Once you are happy confirm and sign the transaction.
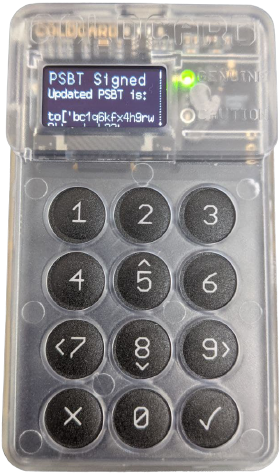
The transaction now has its first signature. Eject the micro SD card and insert back into your computer.
In Specter, press Load signed transaction from file.
Choose the .psbt file that contains the word part near the end of the file name.

Specter now shows 1 out of a required 2 signatures.
Cobo Vault
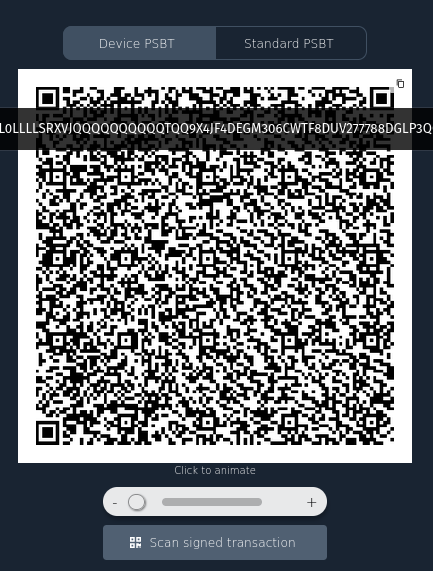
In Specter, click Cobo Multisig > Sign with QR codes.
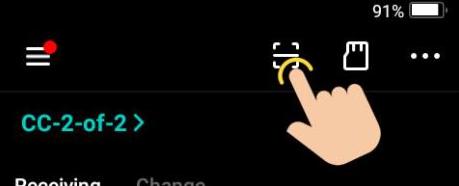
On your Cobo Vault, open your multisig wallet and press the QR scanner button. Scan the QR code displayed by Specter with the device.
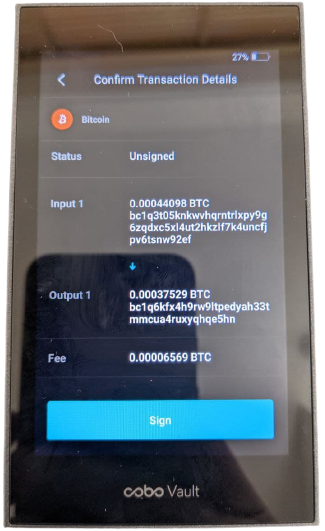
Review the transaction details, confirm and enter your password.
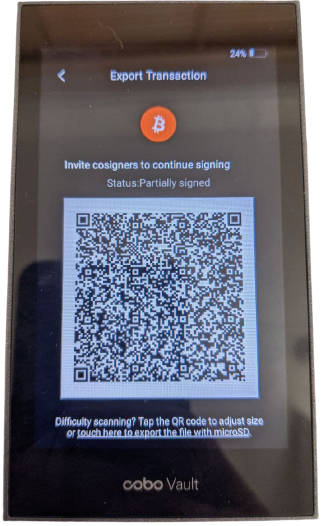
Back in Specter, click Scan signed transaction, this will open your computer’s camera. Hold the Cobo device up to the camera for Specter to read the signed transaction.
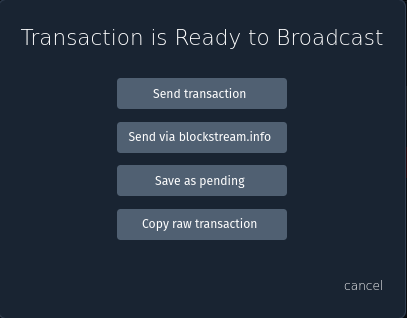
Your transaction now has the required number of signatures and is ready to be broadcasted. Press Send Transaction.
Congratulations, you have now built your own 100% air gapped 2-of-3 multisig wallet, verified your receive addresses, completed the air gapped signing process and securely backed up all relevant private and public keys. And you did it all through your own node too!
Why not practice your recovery process into Sparrow Wallet? It pays to be comfortable with other co-ordinators in case Specter disappears.