Intro
Specter will act as the multisig co-ordinator for this guide. It will use the public keys from all three of the signing devices selected to create a wallet that requires a signature from 2 of those 3 signers to spend. Specter can be downloaded as a desktop application which now comes packaged with the ability to run your own full node within the application. If you go down the route of installing the desktop application, please ensure you verify it.
Specter also comes packaged as a web application in all of the popular node packages. Which option you choose will depend on your budget, requirements and expertise. For those without a node that want to leverage the one packaged within Specter, here is how you configure it :-
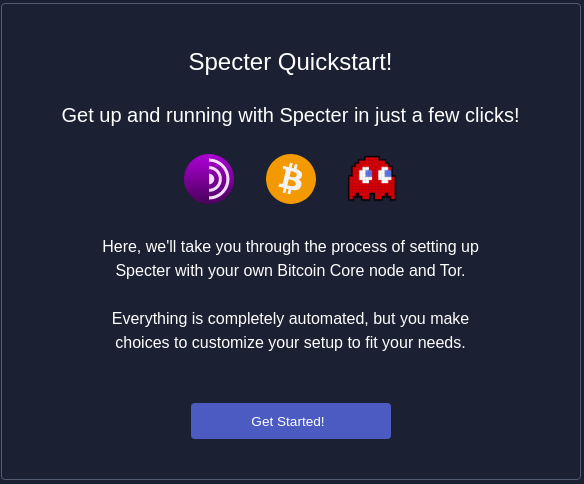
Upon opening Specter Desktop for the first time, you will be met with the quick start option.
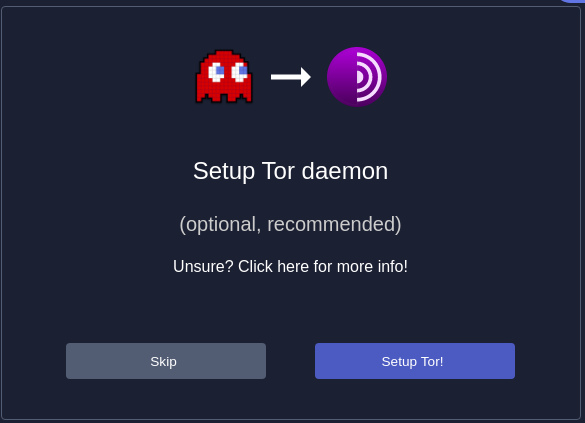
Press Setup Tor. This will automatically install Tor daemon onto your computer to preserve your privacy when interacting with Specter.
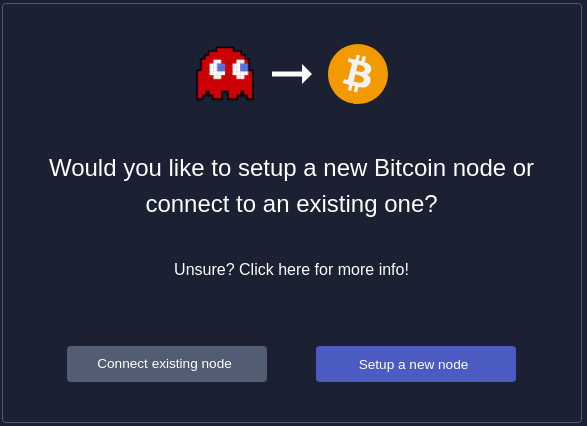
You will then be asked if you want to connect to an existing node (covered further down this page) or setup a new one, select the new node option.
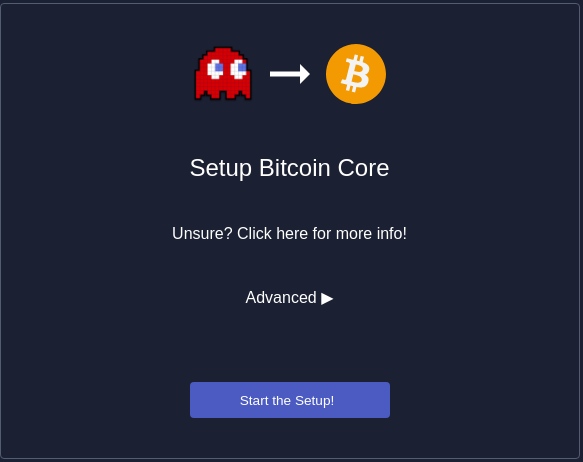
Then start the Bitcoin Core setup
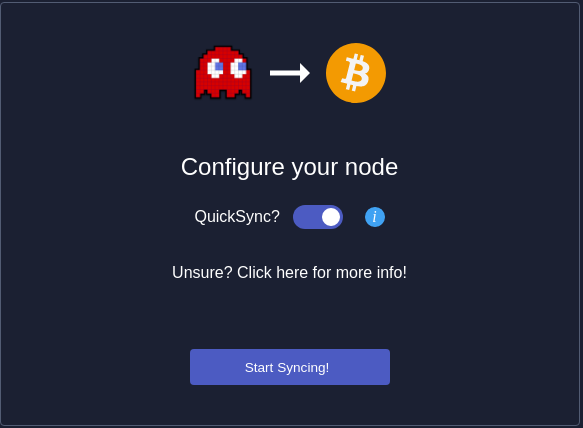
You then need to decide if you want to use QuickSync or not. Moving forward with this option toggled on will set up your new node from a trusted state of the blockchain. This means all block validation will be skipped until the most recent block in the snapshot.
This option puts trust in the snapshot provider. If you have the time to wait, it is advisable to turn this option off and go through the blockchain download and validation yourself.
When you turn off QuickSync, the next step is to decide if you want to run a full archival node or use the pruned option. A full archival node stores a copy of the entire blockchain (around 400GB) onto your computer. Fully archival nodes are beneficial for importing existing wallets and querying historical transactions using your own node but a pruned option can help if you have storage constraints.
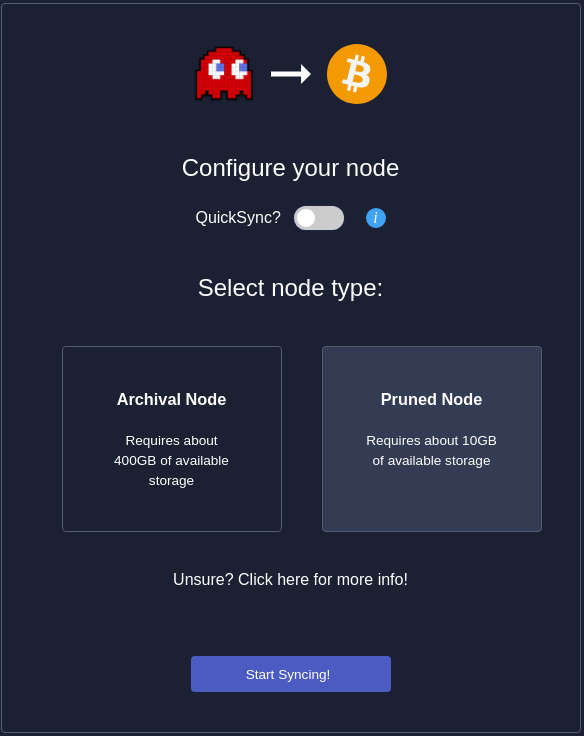
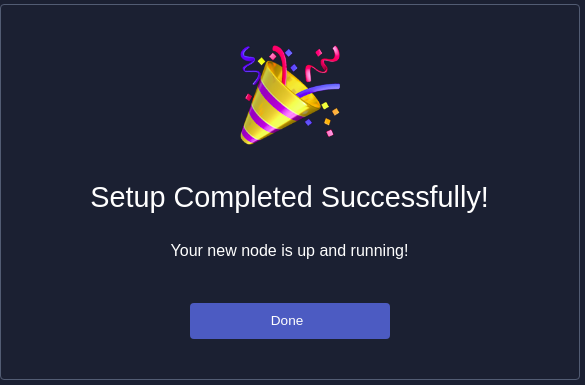
After you have made your decision, select ‘Start Syncing’. Congratulations, you have just setup your own Bitcoin Node!
Connecting Specter to an existing own node
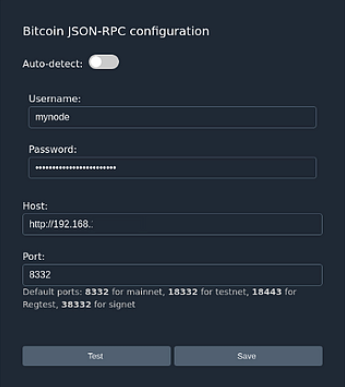
Connecting Specter to your own node requires four pieces of information.
- Your Bitcoin RPC username
- Your Bitcoin RPC password
- Your nodes IP address
- Your nodes RPC port (usually 8332)
Here is how Specter connects to the most popular node implementations. For anything other than Bitcoin Core running on the same laptop as Specter Desktop, ensure that you turn off auto detect before entering your credentials.
Bitcoin Core - If using the default Bitcoin Core settings, you simply need to amend one setting flag and then Specter will automatically connect. Below is a walk-through of this process by Ketan of Ministry of Nodes.
myNode - Integrated directly into the GUI for premium users. Community users should download the desktop app and connect using the parameters below. Your host is your device’s local IP and your RPC password can be found in the Bitcoin page of your dashboard.
- RaspiBlitz -Specter is a one click install from the services menu. The next update will provide a one click update to always run the latest version
- Nodl - Specter is a one click install from the Nodl UI and accessible locally or remotely via Tor browser
- RoninDojo - Installed via RoninCLI and accessible locally or remotely via Tor browser
- Umbrel - Installed via the app store and accessible locally or remotely via Tor browser
Got Specter running and your node fully synced? Lets get started with the signer setup.