Intro
This page walks you through setting up each of the three signing devices that will be used to create the 2-of-3 wallet. Once set up, a signature from two of these devices will be required to spend bitcoin. All three signers operate via an airgap
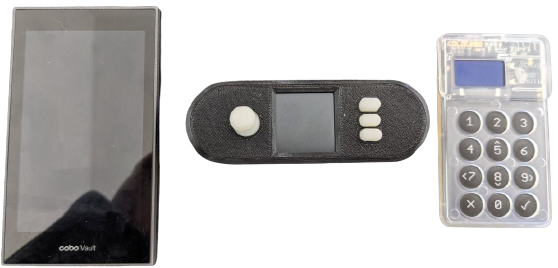
The three devices are :-
- Coldcard
- Cobo Vault
- Seed Signer - For use as a redundant backup signer
Coldcard
Coldcard intro video by Keep It Simple Bitcoin
When you receive your Coldcard, take a close look at the packaging and check for any damage or evidence of it being messed with in any way. The tamper evident bag the device comes in should make this very easy.
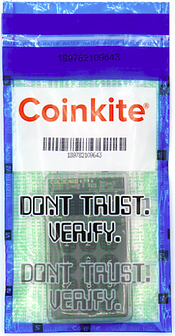
Plug the Coldcard into your power supply and check that the number displayed on the screen matches the one printed on the tamper evident bag.
Before a seed is generated, you must select a PIN. The pin consists of two parts, each part must contain between two and six numbers. Create the first part of your pin. You will now see your anti phishing words, make a note of these. These are used as a reference when you enter your pin in the future. If someone were to swap your device with another one, when you entered the first part of your pin on the fraudulent device you would see completely different words which would warn you that something is wrong before you enter your full pin.

If you lose either part of your pin, you lose access to the device.
Create the second part of your pin. You will then be greeted with the Coldcard home screen.
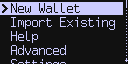
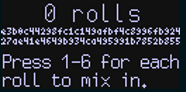
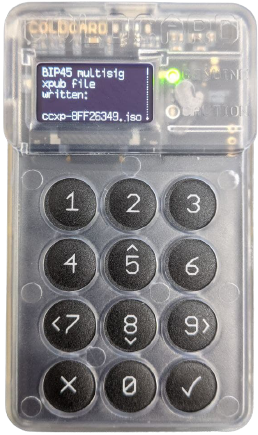
Press new wallet and you will see a list of 24 seed words. At this stage if you press the number 4 on the Coldcard you will be taken to the dice roll screen where you can roll a dice and add additional entropy to your seed generation. You can roll as many times as you’d like and this is designed to reduce the trust in the devices inbuilt random number generator. The process can also be verified. If you do this additional step, after you finish your dice rolls you will see a completely new seed. Write this down, keep it safe and do not share with anyone.
You will then be asked a series of questions based on your seed to ensure that you wrote it down correctly.
Upgrading the Coldcard Firmware
To ensure your Coldcard is running the most secure and up to date firmware, follow these steps. Alternatively you can watch a video guide here.
Download the latest firmware from the Coldcard website.

Open the terminal on your computer and run sha256sum 2021-04-29T1725-v4.1.0-coldcard.dfu. Ensuring that you change the file name to the one you have just downloaded.

Check for a match with the published hash.

Now we know that the contents of the file we downloaded are the same as the one published we just need to check that the file is being produced by the person we think it is. (Peter Gray from Coinkite).
Import Peter’s public key.
curl "https://keyserver.ubuntu.com/pks/lookup?op=get&search=0xA3A31BAD5A2A5B10" | gpg --import

Save the clear signed text file from here to your computer.

Run gpg --verify signatures.txt and look for “Good Signature made from Peter D Gray”

Now we know the file contents are good, save the .dfu file onto a micro SD card. Insert the SD card into your Coldcard and power the device on. Enter your PIN and then go to Advanced > Upgrade > and then click on From SD card.
The device will then install the new firmware and reboot. Enter your PIN again and go to Advanced > Upgrade >Show Version to verify the install went successfully.
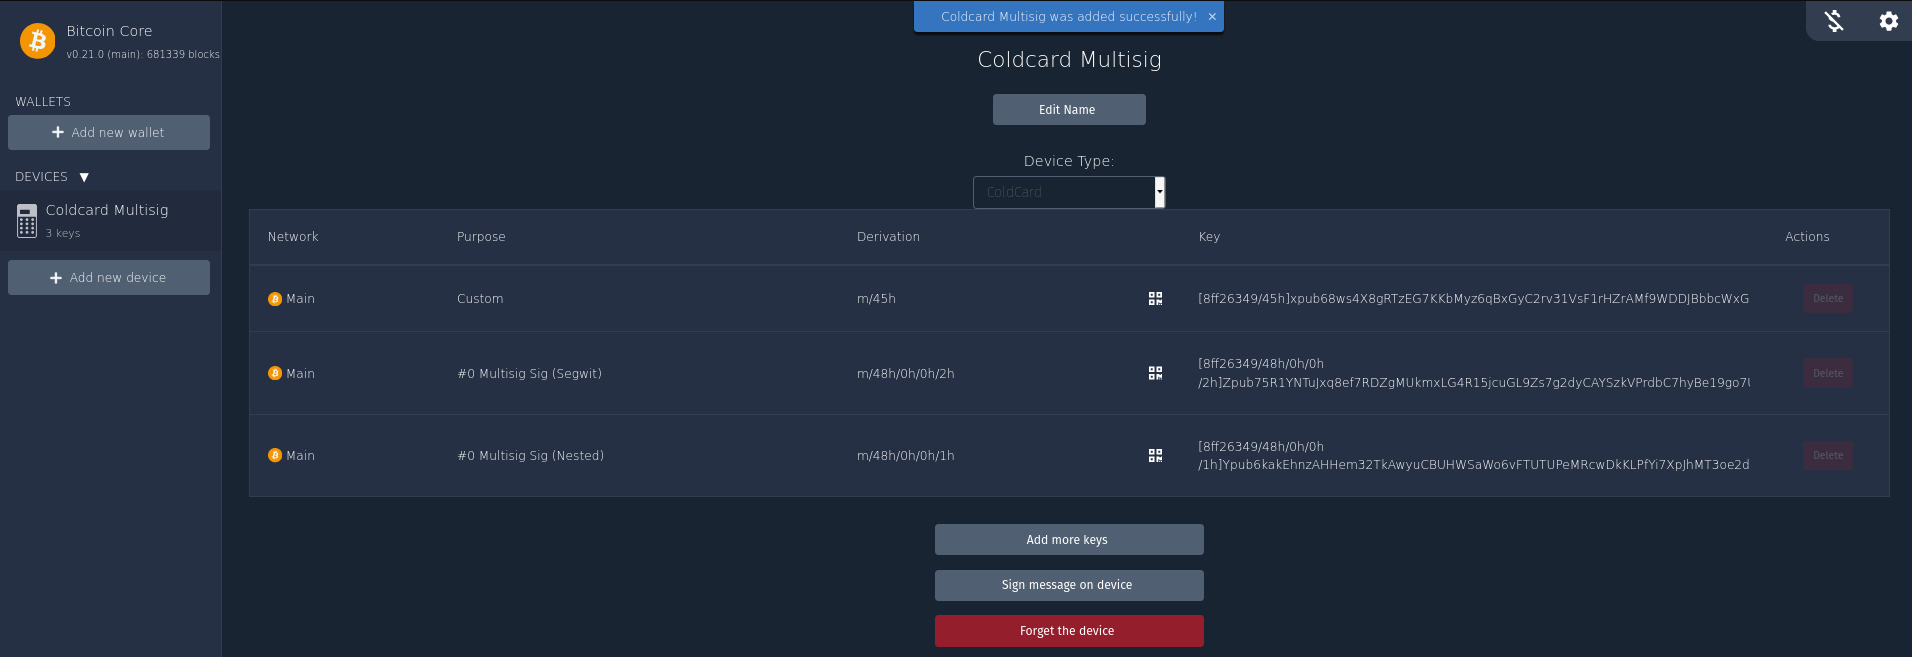
Adding Coldcard to Specter
Ensure the SD card is inserted into your device then go to Settings > Multisig Wallets > Export XPUB.
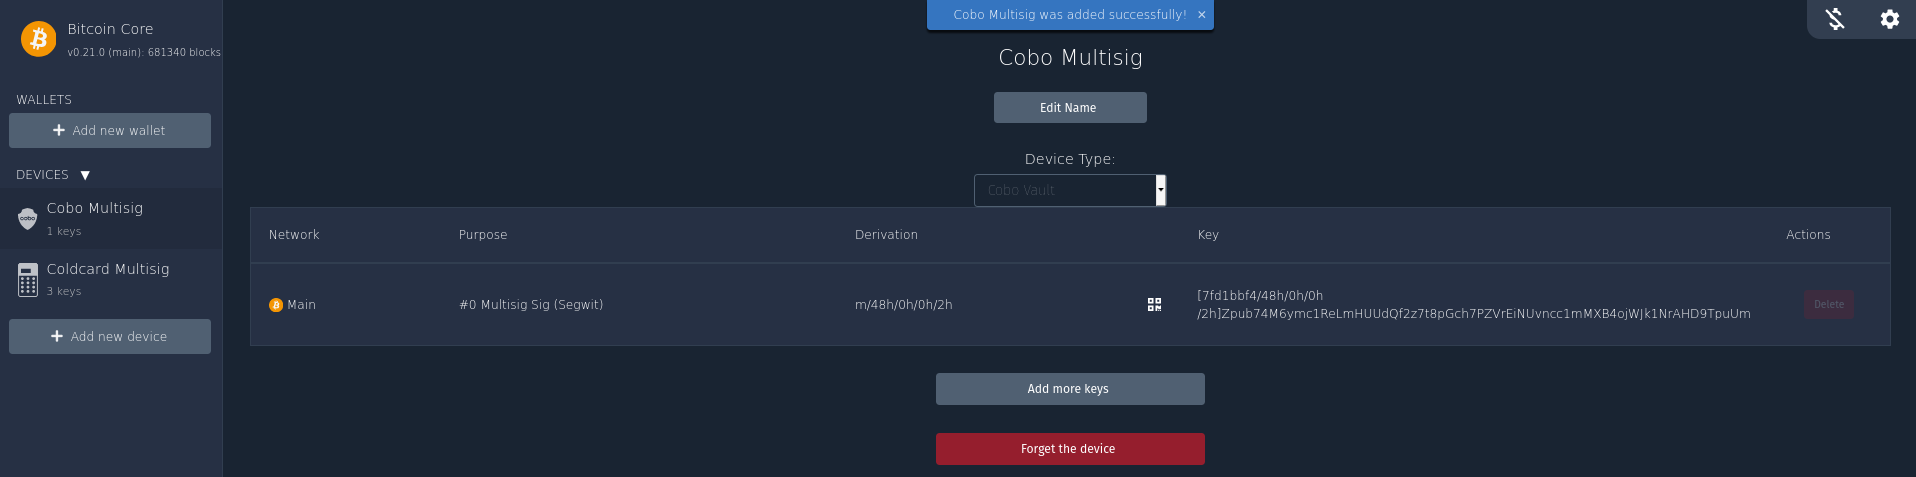
Remove the micro SD card and insert into your computer. Open Specter and click Add New Device, choose Coldcard and then give the device a name. Then click upload from SD card and choose the .json file that we just created.
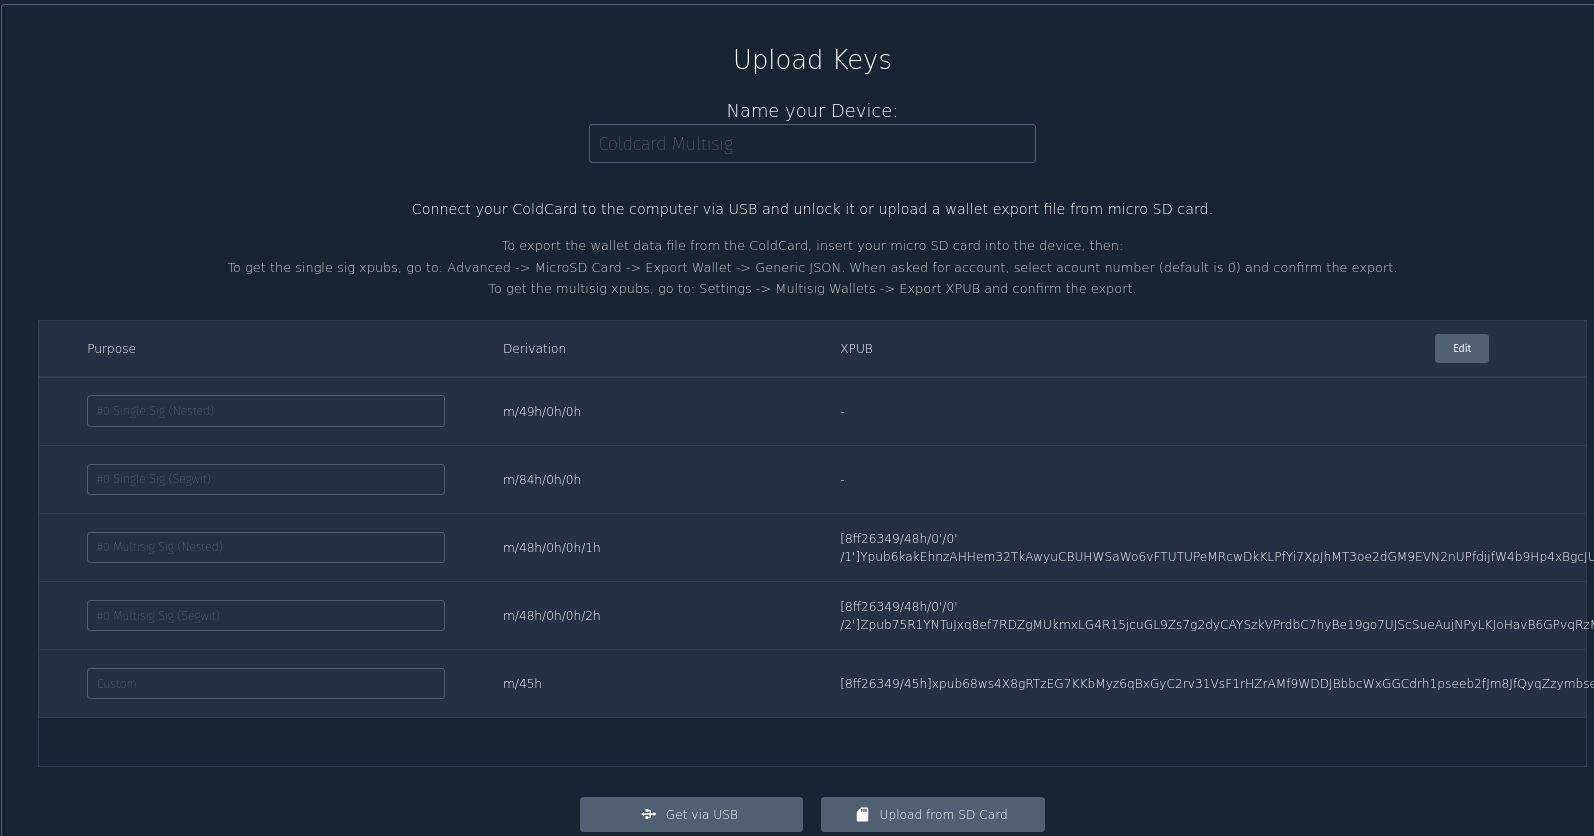
Confirm by clicking add device.
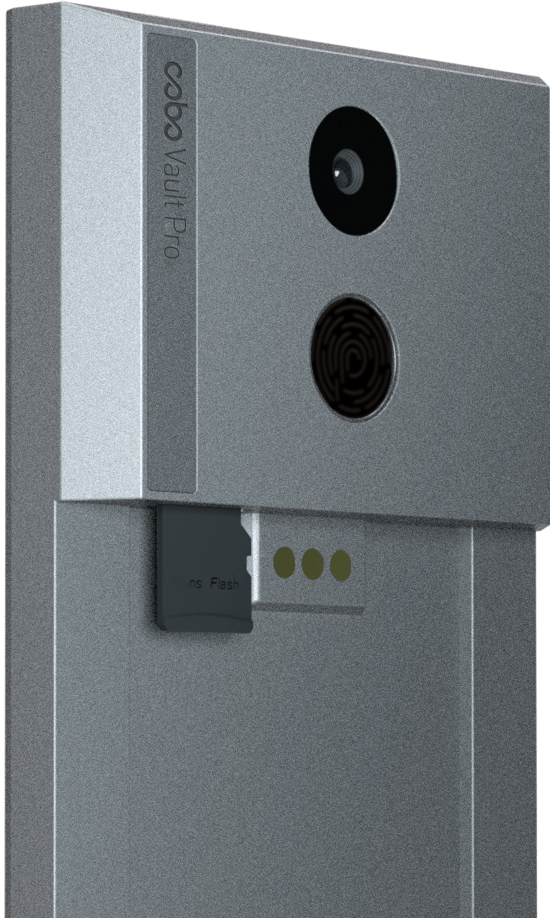
Cobo Vault
Cobo Vault intro video by Keep It Simple Bitcoin
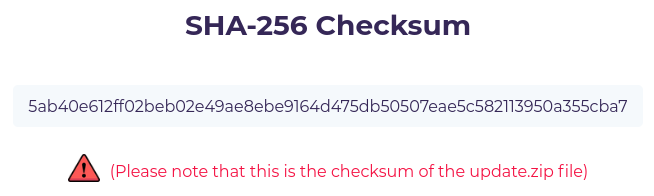
When you receive your Cobo device, ensure that the tamper evident sticker has not been disturbed. First step is to upgrade the firmware to the Bitcoin only version to minimise the attack surface of the device. Download the latest Bitcoin only firmware and extract the files to your computer.
Run sha256sum update.zip and check it matches the checksum displayed on the downloads page.
![]()
Insert a micro SD card to your computer and copy the update.zip file onto it. Then insert the micro SD card into your Cobo Vault.
Go to Menu > Settings > Version > Update Now. The device should then restart.
Power on the device and select your language and follow the on-screen instructions to verify the authenticity of the device.
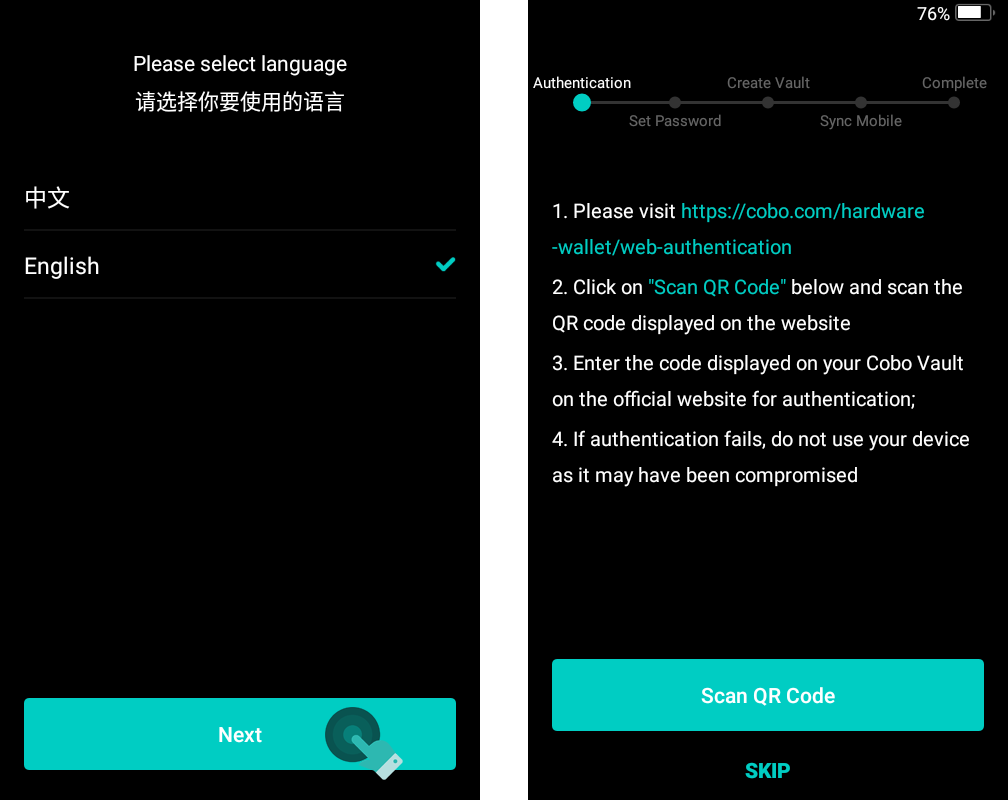
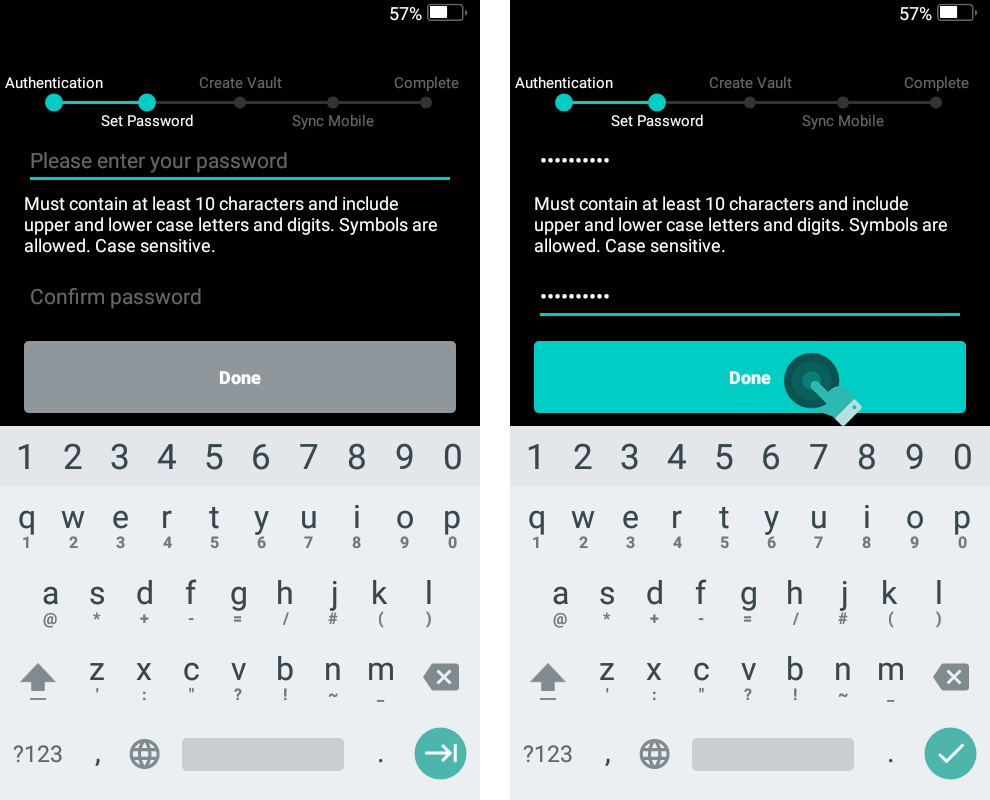
Set a strong password.
Press Create Vault then triple tap on the image shown to bring up the dice rolls feature.
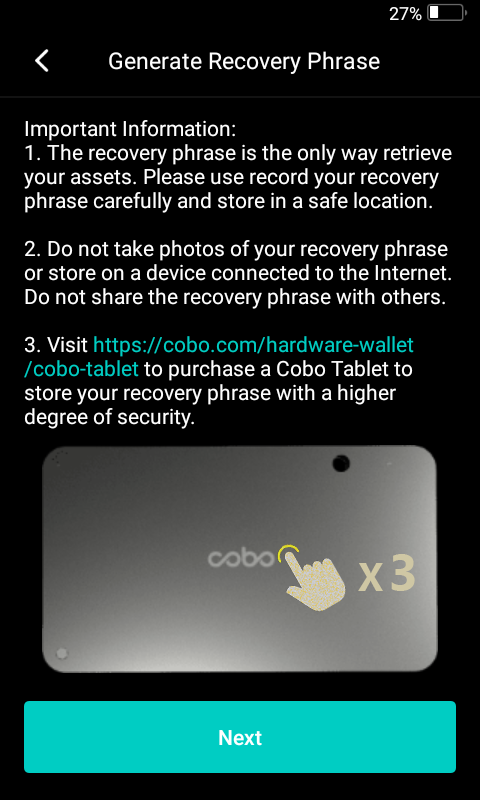
Roll a dice at least 50 times, entering each roll result as you go.
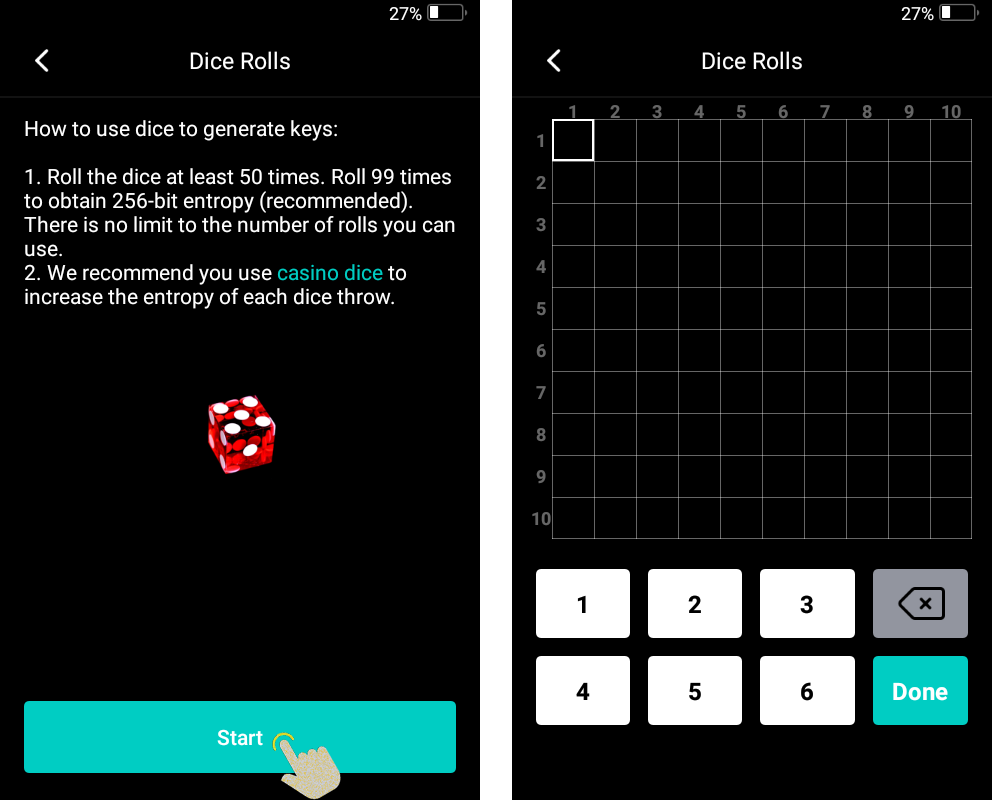
You will then receive your new seed words.
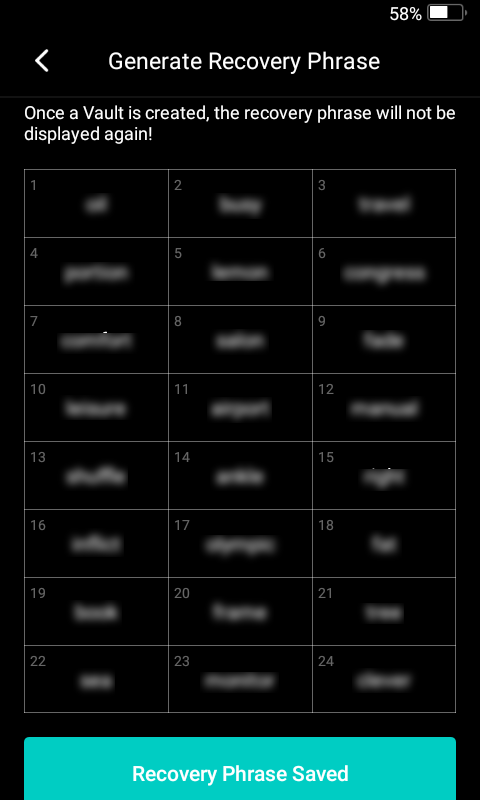
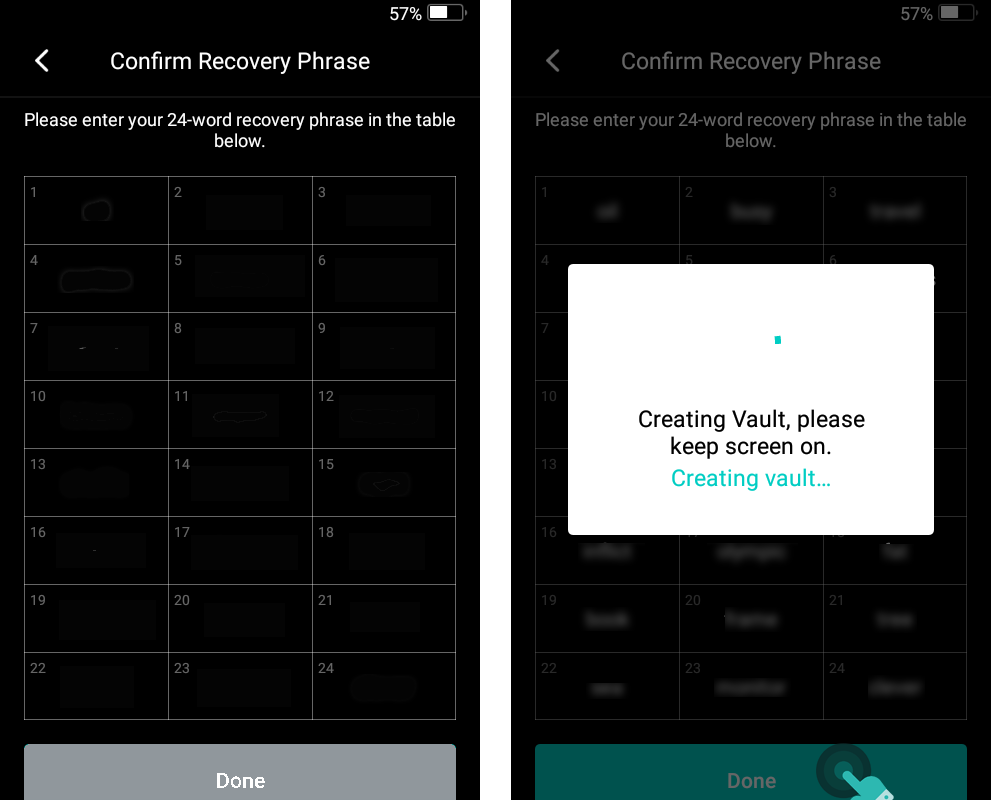
Write down your generated seed words and press to confirm you have done so.
You will then be asked to input all 24 words to ensure you have them written down correctly.
Adding Cobo Vault to Specter
Open the menu with the button in the top left of the screen then press Multisig Wallet.
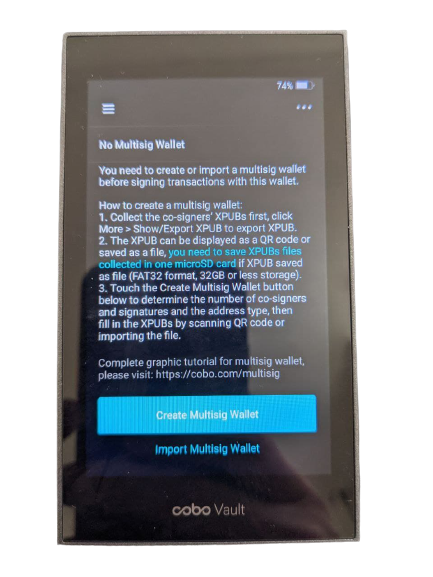
Tap the three dots in the top right corner then Show/Export XPUB. This will bring up a QR on screen.
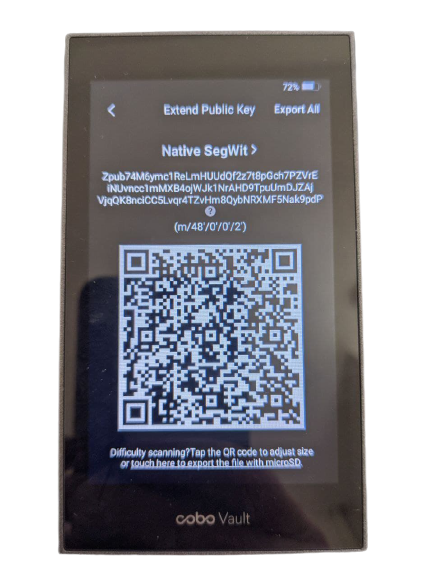
Open Specter and click Add New Device, choose Cobo Vault and then give the device a name. Then click Scan QR code which will open your computers camera. Hold the device so that the QR code on the Cobo can be read. Once scanned, confirm with Add Device.
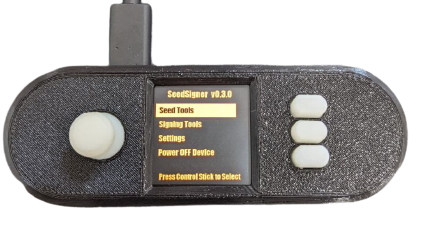
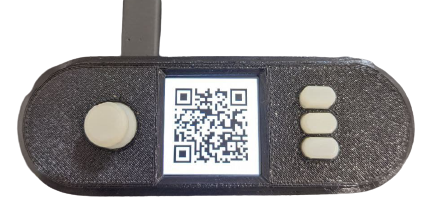
Seed Signer
Seed Signer is an open source DIY signing device, built out of generic hardware that you can buy from anywhere you like. You can follow a full video walkthrough to build the device here or follow the steps oulined below. Parts list here.
If the DIY approach is not for you, or you want to wait for signed releases, this device can be swapped for another Coldcard or Paper Wallet.
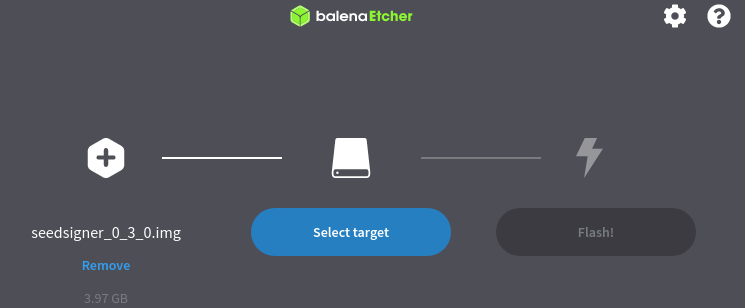
Download the latest zip file from the release page.
Extract the .img file, insert the micro SD card into your computer and flash the file onto the SD card using Balena Etcher. Once complete remove the SD card from your computer.
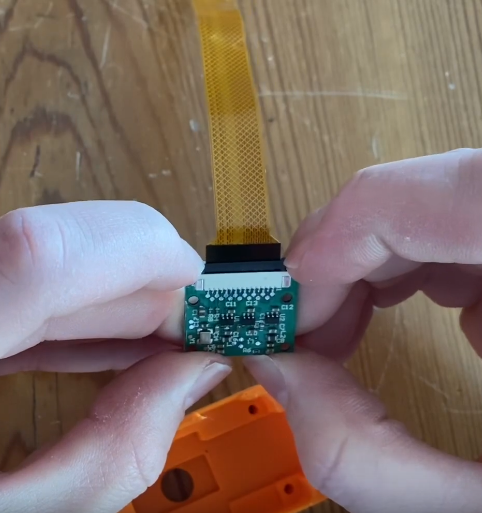
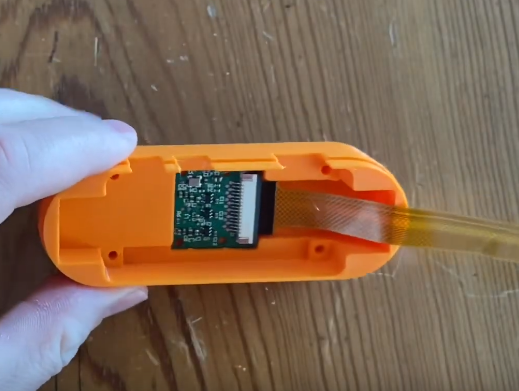
Connect the camera ribbon to the camera.
Place the camera lens down into the bottom of the case.
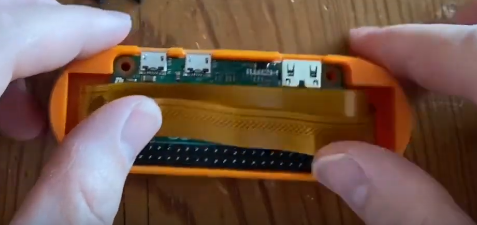
Insert the micro SD card
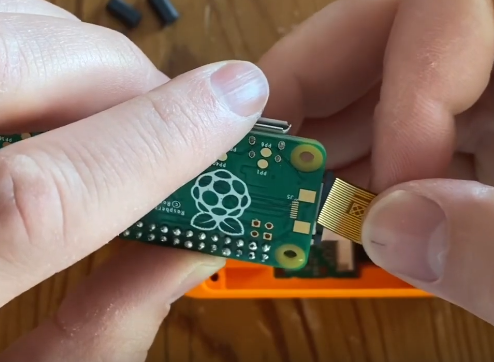
Insert the loose end of the camera ribbon into the Pi Zero
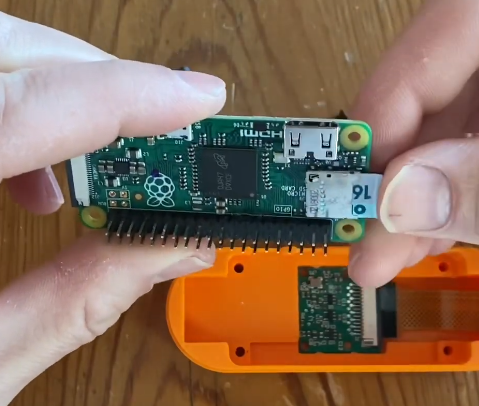
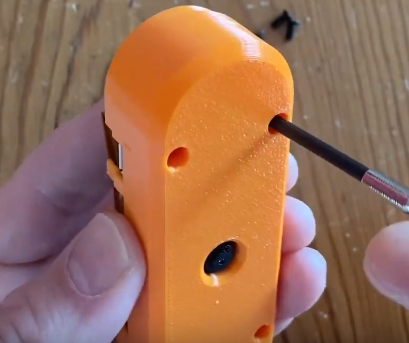
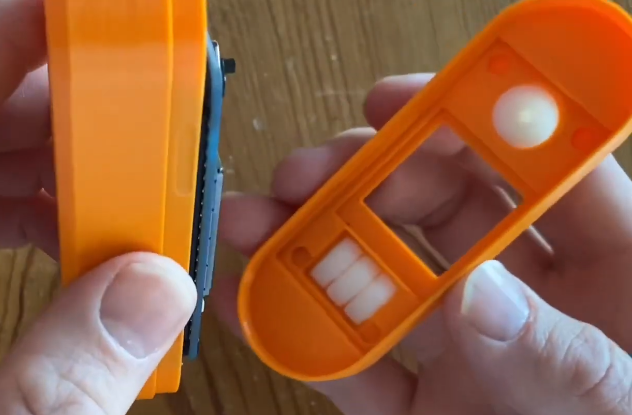
Flip the Pi over and press into the bottom of the case.
Using the spacers and long screws, secure the Pi to the case.
Press the LCD screen gently down onto the pins of the Pi.
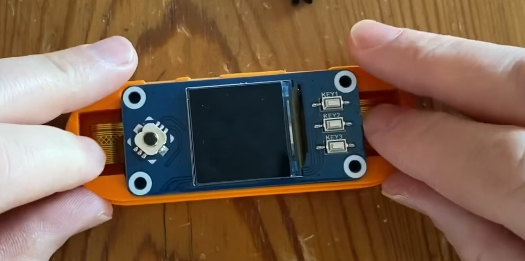
Fasten down the screen to the spacers using the shorter screws.
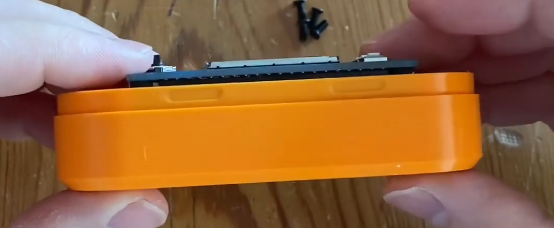
Turn the top part of the case upside down and drop in the 3 buttons and joystick.
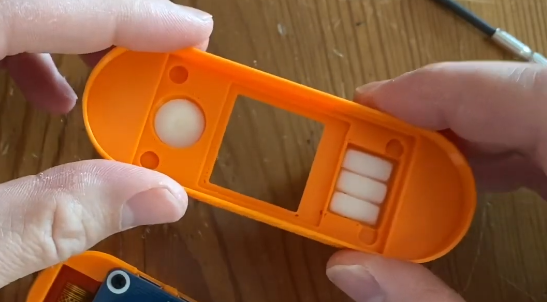
With the case top still upside down, press the assembled parts together.
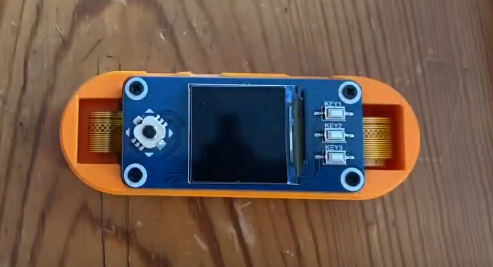
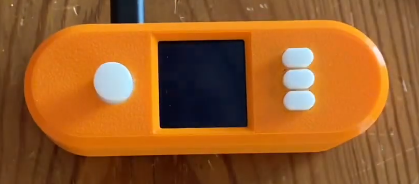
The fully assembled device.
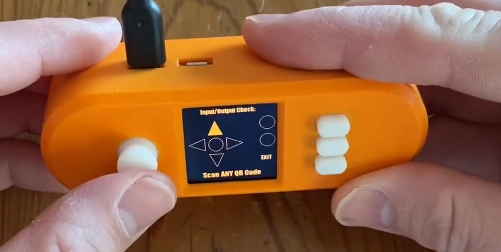
Power on the device and wait for the home screen to appear. Then go to Settings > Input/Output tests. Work through each control to confirm each input works as expected.
Adding Seed Signer to Specter
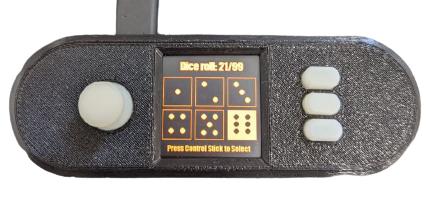
Power on the device and wait for it to boot (90 secs currently). Go to Seed Tools > Create a Seed w/Dice.
Roll a dice 99 times, entering each roll result with the joystick.
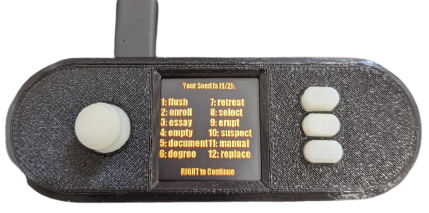
You will then be shown your seed words, write them down.
Back at the main menu go to Seed Tools > Store a Seed (temp) > Use Seed Slot 1. This will store the seed you are about to enter to the device for as long as it remains powered on.
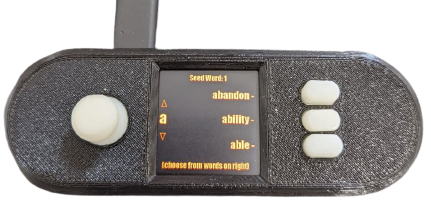
Enter your seed words using the joystick and buttons. Press right on the joystick at the end to confirm the temporary save.
Now back at the main menu go to Signing Tools > Generate XPUB, press yes to used a saved seed and select Seed Slot #1. The device will now be showing an animated QR code.
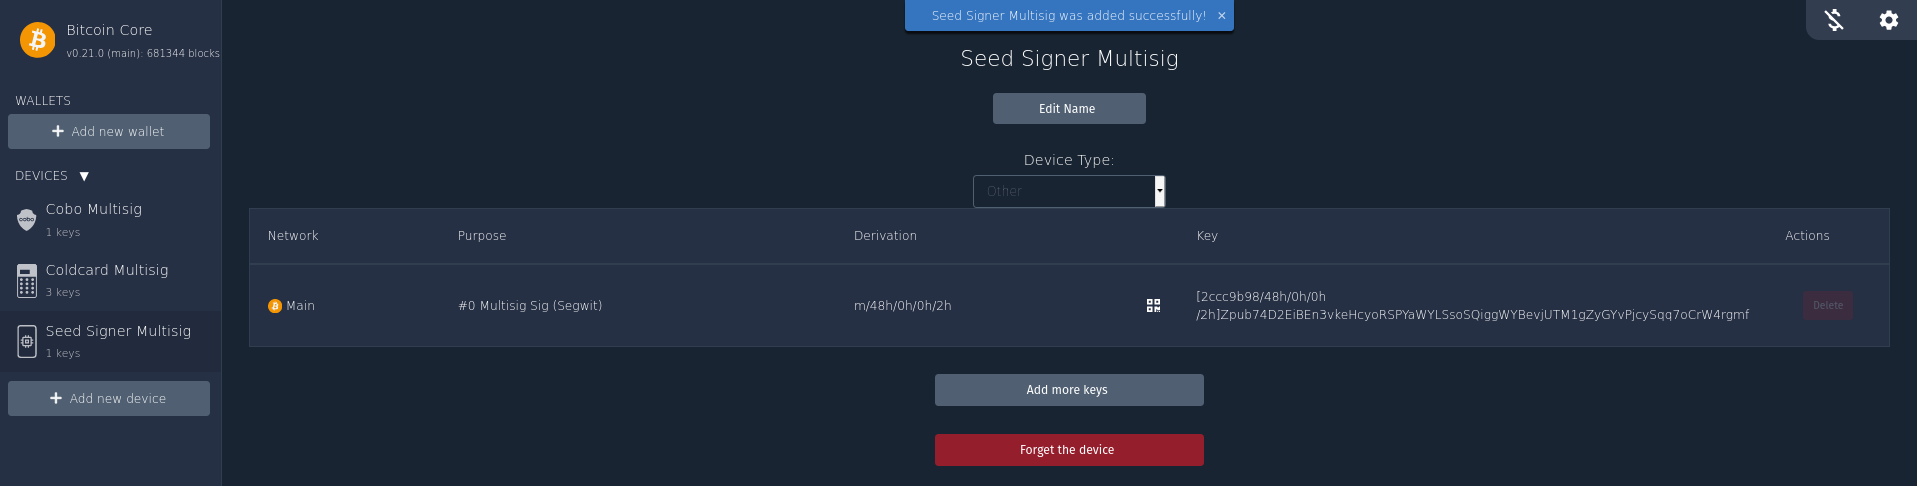
Open Specter and click Add New Device, choose other and then give the device a name. Then click Scan QR code which will open your computers camera. Hold the device so that the QR code on the device can be read. Once scanned, confirm with Add Device.
Finished setting up your signers and importing them to Specter? Lets get started with creating the multisig wallet.