What is Specter Desktop?
As the name suggests, Specter is a desktop based Bitcoin wallet available on all popular operating systems. Unlike most other popular desktop wallets that rely on some form of Electrum Server, Specter speaks directly to Bitcoin Core which makes for a quick and easy setup process for those running core on an old laptop or desktop. Specter comes with the best user interface I have seen from a desktop wallet to date and makes single and multi-sig wallet setups an absolute breeze. When paired with Bitcoin core, it has to be the simplest hardware wallet/full node setup available.
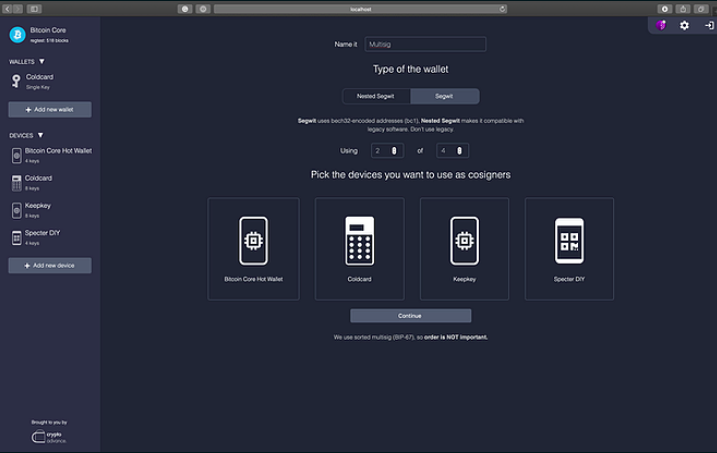
Features
- Works directly with core (no need for an Electrum server)
- Connect to local or remote node over Tor
- Optional built in full node
- New wallet generation
- Wallet imports (including Electrum)
- All major hardware wallet support (including air gapped devices)
- Coin selection and labelling
- Single or multi-sig support
- PSBT
- Batch transactions
- Watch only wallets
- Custom derivation paths
- Built in ‘run the numbers’ button for verifying the current Bitcoin supply
Run Specter with integrated Bitcoin Core node
As of v1.3.0, Specter Desktop now comes packaged with the ability to run your own full node within the application. Here is how you configure it :-
Upon opening Specter Desktop for the first time, you will be met with the quick start option.

Press Setup Tor. This will automatically install Tor daemon onto your computer to preserve your privacy when interacting with Specter.
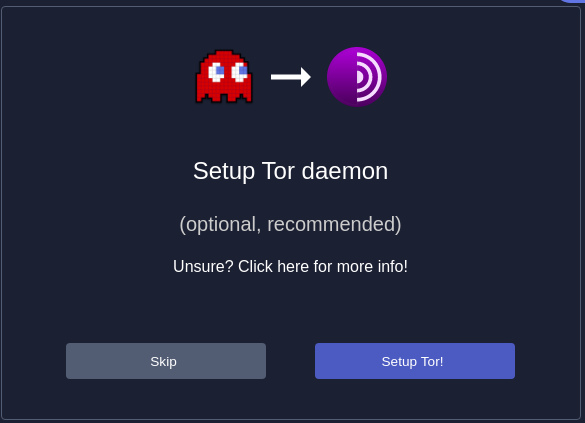
You will then be asked if you want to connect to an existing node (covered further down this page) or setup a new one, select the new node option.
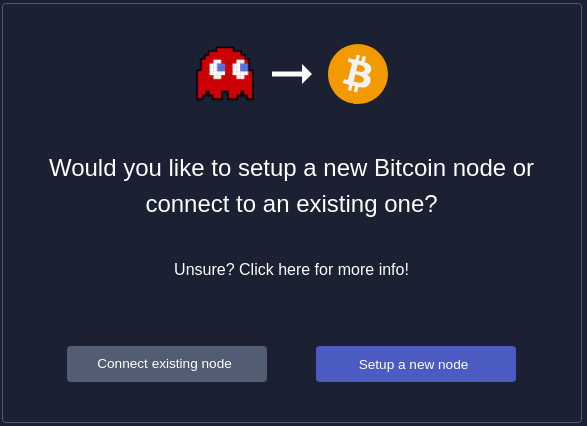
Then start the Bitcoin Core setup
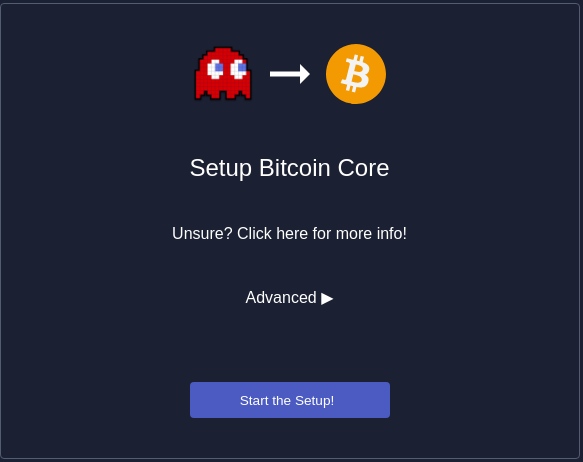
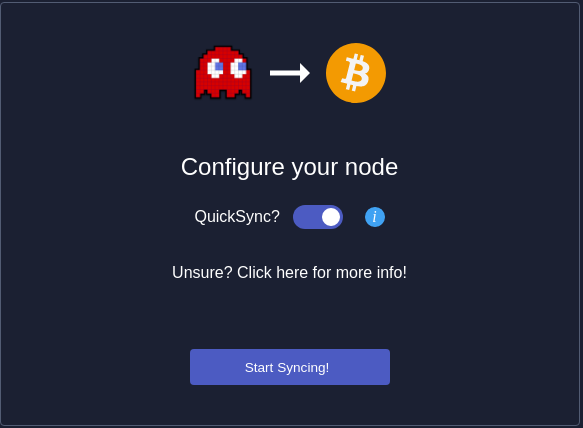
You then need to decide if you want to use QuickSync or not. Moving forward with this option toggled on will set up your new node from a trusted state of the blockchain. This means all block validation will be skipped until the most recent block in the snapshot.
This option puts trust in the snapshot provider. If you have the time to wait, it is advisable to turn this option off and go through the blockchain download and validation yourself.
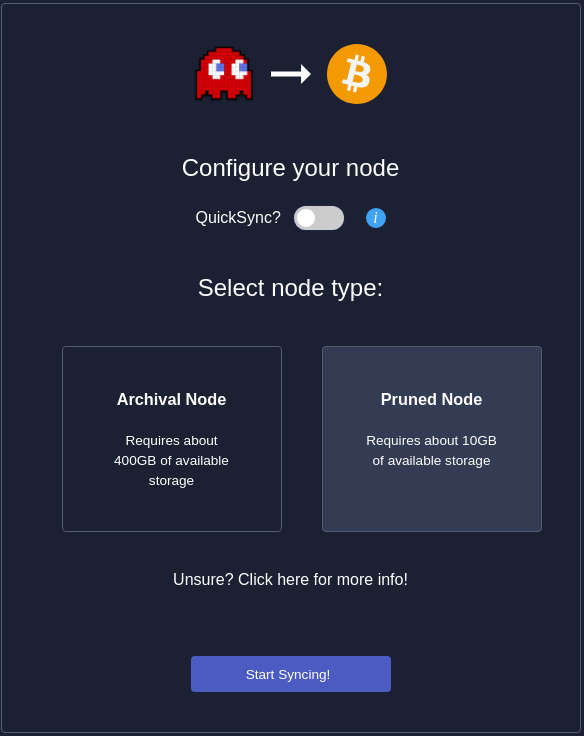
When you turn off QuickSync, the next step is to decide if you want to run a full archival node or use the pruned option. A full archival node stores a copy of the entire blockchain (around 400GB) onto your computer. Fully archival nodes are beneficial for importing existing wallets and querying historical transactions using your own node but a pruned option can help if you have storage constraints.
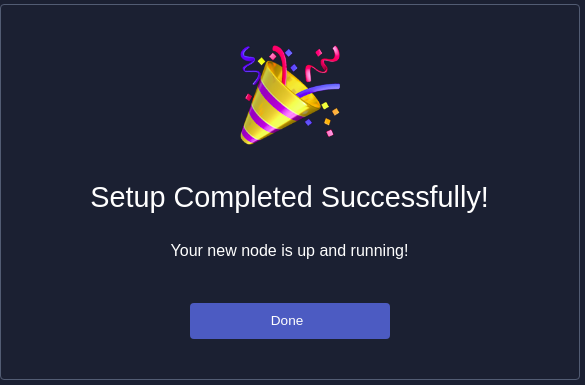
After you have made your decision, select ‘Start Syncing’. Congratulations, you have just setup your own Bitcoin Node! You can now continue with the Coldcard setup.
Connecting Specter to an existing own node
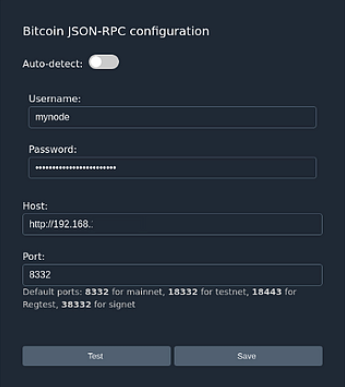
Connecting Specter to your own node requires four pieces of information.
- Your Bitcoin RPC username
- Your Bitcoin RPC password
- Your nodes IP address
- Your nodes RPC port (usually 8332)
Here is how Specter connects to the most popular node implementations. For anything other than Bitcoin Core, ensure that you turn off auto detect before entering your credentials.
Bitcoin Core - If using the default Bitcoin Core settings, you simply need to amend one setting flag and then Specter will automatically connect. Below is a walk-through of this process by Ketan of Ministry of Nodes.
myNode - Integrated directly into the GUI for premium users. Community users should download the the desktop app and connect using the parameters below. Your host is your device’s local IP and your RPC password can be found in the Bitcoin page of your dashboard.
RaspiBlitz - Specter is a one click install from the services menu. The next update will provide a one click update to always run the latest version.
Nodl - The configuration settings to support Specter are being released in the next software update. This guide will be updated when they are implemented.
RoninDojo - Installed via RoninCLI and accessible via Tor browser
Getting Started with Coldcard
I am going to presume that you have already set up your ColdCard. If you haven’t done so already, check out my Coldcard 101 guide. You should also ensure that the device is fully up to date with the latest firmware.
The following steps will walk you through importing your Coldcard wallet to Specter for use as a single sig. I will also cover how to send and receive a transaction. Although the focus of the guide is with Coldcard, the process flow for other hardware wallets is largely similar.
Exporting your wallet File
Go to Advanced > Micro SD > Export wallet > Electrum Wallet, choose the wallet type native segwit and confirm. This will download a .json file to your SD card. This file alone cannot be used to spend funds, only view addresses and balances. Now remove the SD card and insert into your computer that is running Specter.
Adding your device to Specter
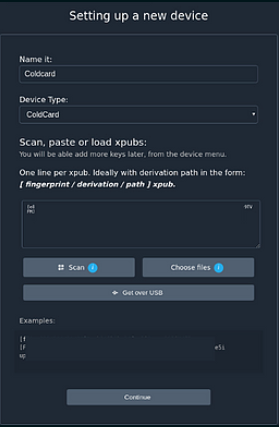
In Specter press Add new Device. Pick a name for your device and then select the device type from the drop down list. Now click choose files and then select the .json file we just exported from your Coldcard then press continue.
Adding the wallet
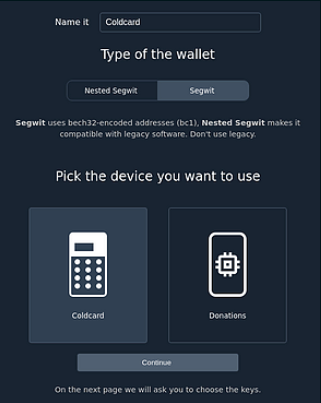
Select Add new wallet, give your wallet a name and choose Segwit. Click on your Coldcard device and press continue. On the next screen tick the box to scan for existing funds, only if you have already used this wallet before. When ticking the rescan box in the latest version, you will be shown options to choose block height for full rescan, or UTXO only if you only want existing balance.
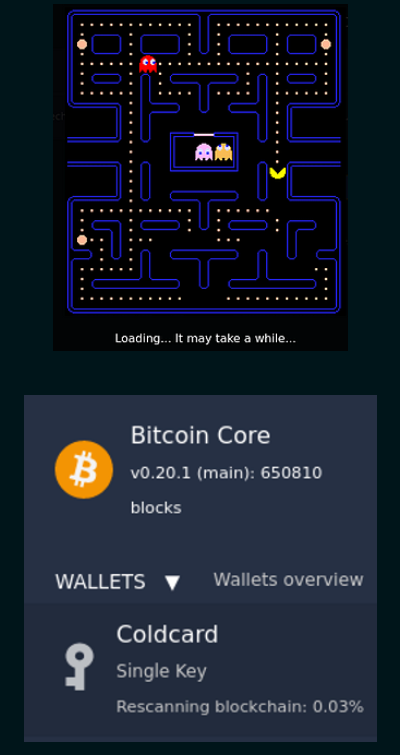
After a short wait you should see your wallet added on to the left hand side of the Specter dashboard. If you are imported an existing wallet and opted to rescan for funds you will also be shown the progress of this.
Receiving a transaction
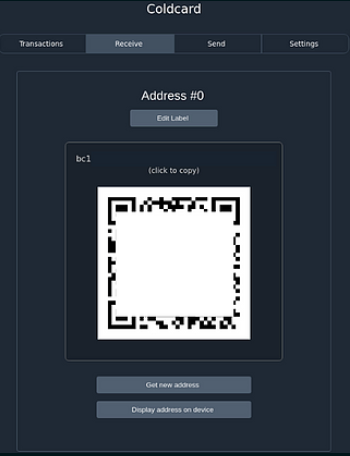
This one couldn’t be much simpler. Simply select your Coldcard wallet on the left hand side and navigate to the receive tab. You can then share the generated QR code or address with whoever is sending you bitcoin. An optional step for extra security is to verify you receive address on your Coldcard using the built in address explorer. This will mitigate any risk that you have downloaded a compromised version of Specter where an attacker could swap out your Coldcard address for their own. See these instructions for using the address explorer.
Sending a transaction
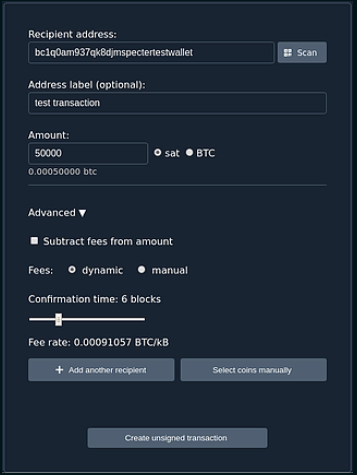
Navigate to the send tab. Populate the recipients address, add an optional label so you can remember what the transaction is for in the future. Enter the amount you want to send, this can be done in sats or BTC and then press create unsigned transaction. There are some advanced options available by pressing the drop down icon that will allow you to specify…
- Specific fee rate
- Whether to take the fee out of the amount being sent
- Select which UTXO you want to be part of the transaction
- Add another recipient (for batched transactions to save on fees)
On the next screen press Sign transaction with your Coldcard and then Sign with SD card. You can then download the transaction to your SD card and insert into your Coldcard for signing.
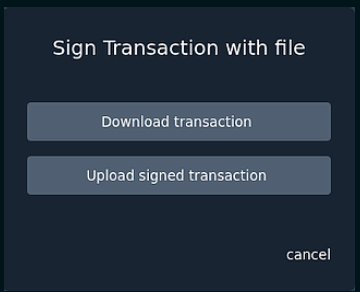
On your Coldcard enter your pin (and passphrase if you use one) then press Ready to sign. Confirm you are happy with the transaction details and then press the tick button. Your Coldcard has now signed the transaction using its private keys and the signed transaction file will be saved to your SD card ready to be broadcast to the network.
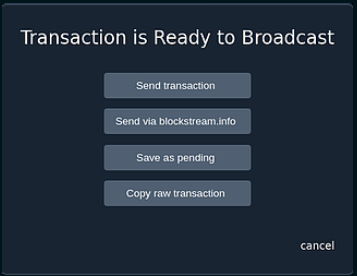
With the SD card back into your computer, press upload signed transaction then locate the signed .psbt file and press open. Hit send transaction and you are all done!
Where can I learn more?
Visit the team’s Github or their Telegram support channel. For a guided setup of a multi-sig wallet with Specter, check out this guide.
Warning! Whilst multi-sig wallets alleviate certain attack vectors compared with single-sig wallets, they also introduce other complexities. Ensure you fully consider these before going down the multi-sig route.
If you need help getting started with Specter or multisig, I offer private support calls for those that benefit from more personalised tuition.
Disclaimer - All views expressed in this article are my own and not those of the Specter team